Signed In: S-No | checksum: C-No | apt_id: S-none | cart key: S-none | pli_key: S-none
How to adjust offset for the Evolis Zenius 1 or Primacy 1

Adjusting the offset for the Evolis Zenius 1 or Primacy 1 allows reducing the white margin on the right, left, or bottom when printing a plastic card. Zenius 1 and Primacy 1 are DTC printers. Remember that you will always see small white lines around the edges. For a true over-the-edge printer, please consider Agilia a retransfer technology direct-to-card printer for very high-quality card delivery.
How to Print a Technical test card to get the offset default values:
In the Evolis Print Center \ Properties \ System details \ Testing cards, click the Technical test card button to get the card below.
X offset value - Y offset value - Vertical printed lines - Horizontal printed lines
Tips: The Inserted cards number shows you how many cards you have printed so far. Ex. 294
Offset reading commands:
To read the offset values, you can use these commands from the Evolis Print Center \ Properties \ Maintenance \ Printer commands prompting:
Type one of the codes below in Command: and press enter to get the value.
Rx (X offset value)
Ry (Y offset value)
Rnl (vertical printed lines)
Rnw (Horizontal printed lines)Offset adjustment commands:
From the Evolis Print Center \ Properties \ Maintenance \ Printer commands prompting, you can send these commands to set the image size and positioning:(Vertical printing positioning - Increase this value to move the printing area to the right side of the card)
Px;=;Value
Px;+;Value
Px;-;Value(Horizontal printing positioning - Increase this value to move the printing area to the bottom of the card)
Py;=;Value
Py;+;Value
Py;-;Value(Increase this value to increase the number of vertical printed lines on the right side of the card)
Pnl;=;Value
Pnl;+;Value
Pnl;-;Value(Increase this value to increase the number of horizontal printed lines on the top of the card)
Pnw;ValueTips
- Adjust the X offset before the Pnl value.
- To reduce the margin on the right side, increase the Pnl value one by one. Please do not set it directly to the maximum value (1016).
- If you increase or decrease too much the Y offset value or the number of horizontally printed lines, you will see wrinkles along the edges of the design.
- If you reduce too much the X offset value, the printer will cut the ribbon, or nothing will print on the card (because the print head starts to print before the card)
- The values are in dots (12 dots = ~ 1mm), so adjust them one by one.
- Send the Sc (sequence copy) to print the last design saved in the printer memory
Sample of adjustment:
Sample 1: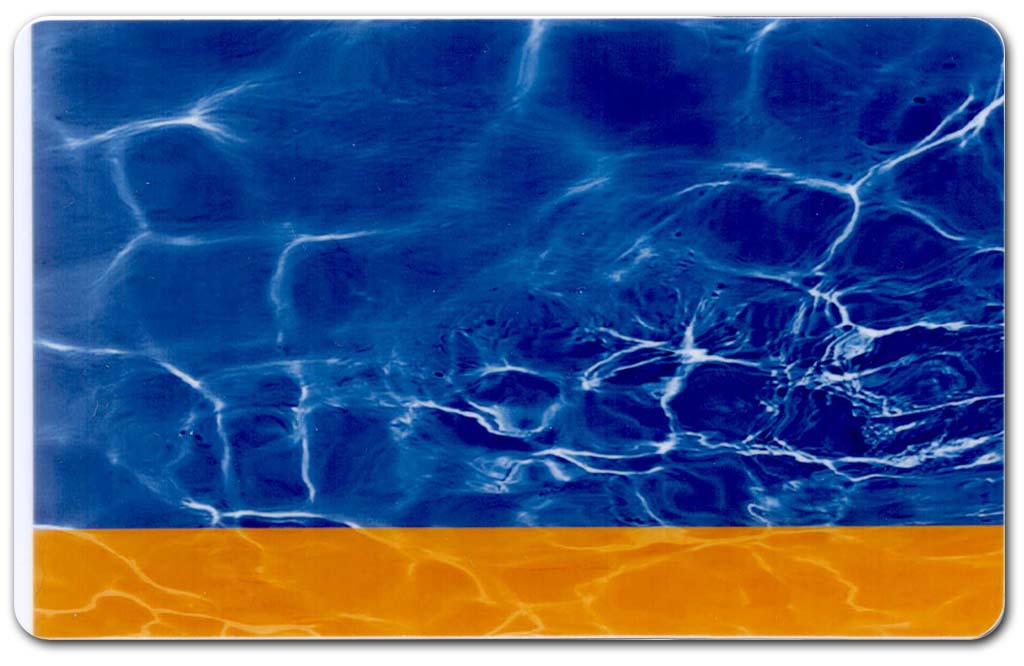
A white margin can be observed on the left of the card.Solution:
Reduce the X offset to move the printing area to the left of the card (12 dots = ~1mm).Commands:
Px;=;Value
Px;+;Value
Px;-;ValueSample2:
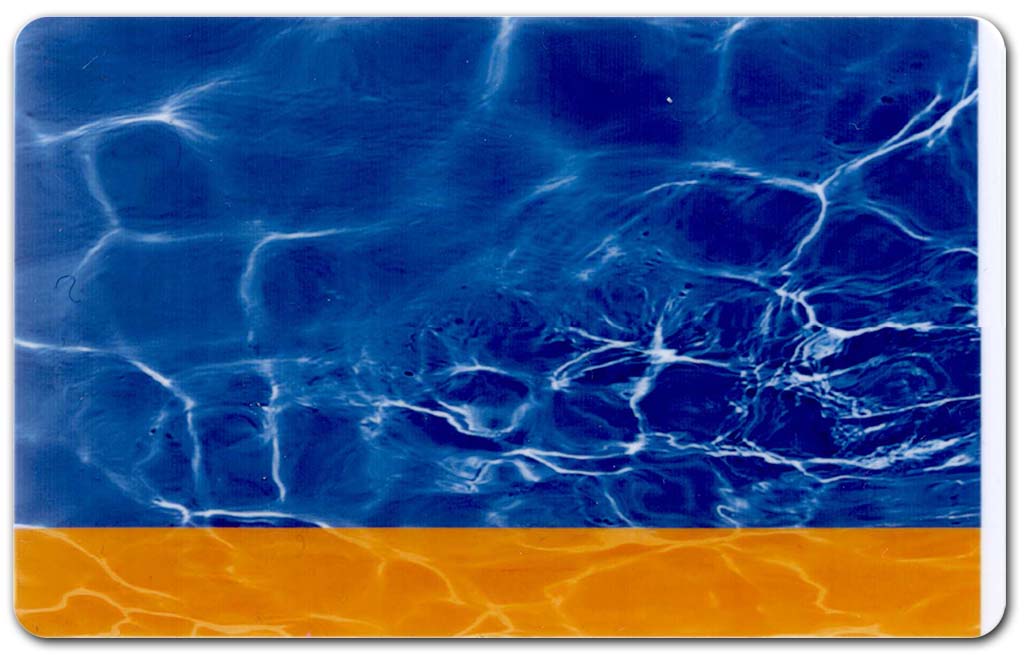
A white margin can be observed on the right of the card.Solution:
Increase this value to increase the number of vertical printed lines on the right side of the card (12 dots = ~ 1mm). Make sure the X offset value has been correctly set before modifying the Pnl value.Commands:
Pnl;=;Value
Pnl;+;Value
Pnl;-;ValueSample3:
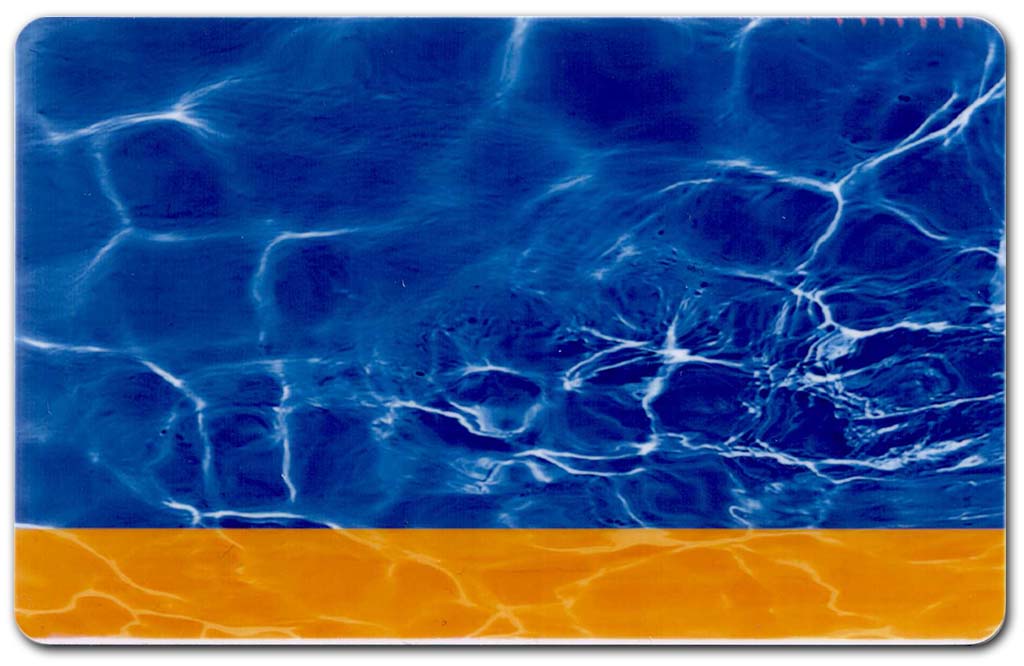
A white margin can be observed on the bottom of the card or/and wrinkles are on the top of the card.Solution:
Increase the Y offset to move the printing area to the bottom of the card (12 dots = ~ 1mm).Commands:
Py;=;Value
Py;+;Value
Py;-;Value


")
